Skateboarding and photography have each come a long way in the past 50 years. From the Z-Boys and film cameras of the 1970s to the X-Games and digital cameras of modern day, skateboarding and cameras have each evolved in their own right.
This article will give you a few tips on how to take great skateboarding photos with a digital SLR camera. We know that many of you might not yet have the budget for professional cameras and lenses, so you can try to adapt these techniques for whatever you shoot with, whether it’s an iPhone or a point-and-shoot camera.
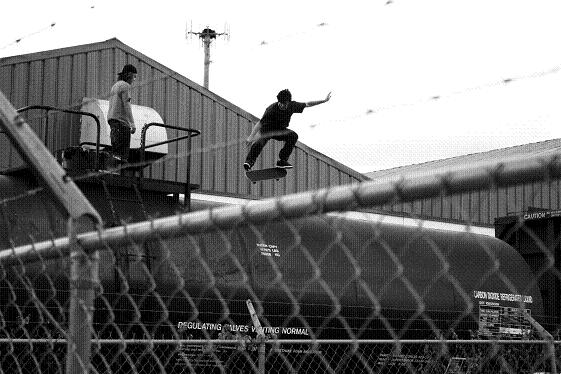
Action sports photography doesn’t require fancy camera bodies, lenses, and lighting equipment. Most modern smart phones have great built-in cameras, some with the capability to shoot at a higher resolution than digital SLRs (single lens reflex). There’s also a wide array of aftermarket attachments available. You can often buy wide-angle lens adapters for your smart phone’s camera at a fraction of the cost of a real wide-angle lens.
With all this being said, digital SLRs are still the best way to go. We recommend Nikon or Canon. If you’re short on cash, but still want a great camera, you can often find factory-refurbished models at a significant discount. Many reputable camera retailers also sell used/refurbished lenses and lighting equipment. This is a great option that both amateurs and professionals often take advantage of. Retailers with great reputations include Adorama.com and BHphotovideo.com.
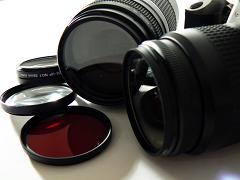
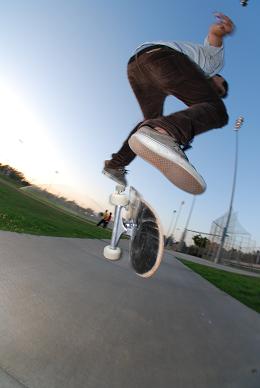
Wide-angle and fisheye lenses are very popular when it comes to shooting action sports as they allow photographers to get up close yet still capture all the action. You can, however, use all sorts of different lenses, filters, and lighting arrangements to create great skateboarding photos.
Don’t Be Afraid to Get Close
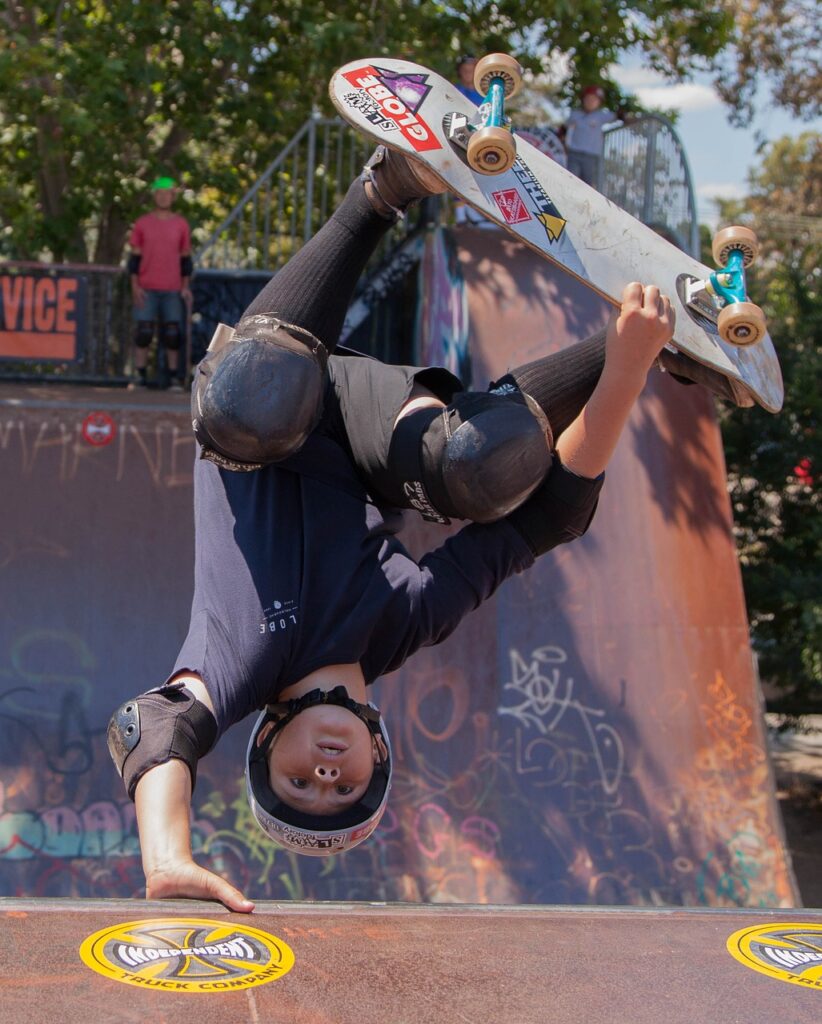
Facing your fears is what skateboarding is all about. This also applies to skateboard photography. You’re often going to have to get close. A board could come flying at your head or your camera lens. Your friend could even come flying at you. But you have to trust your quick reaction speed that you learned from skateboarding. If you’ve spent any significant time skateboarding, you know you’re capable of moving your legs and arms rapidly enough to avoid catastrophe.
Find the Right Angles for Every Trick and Every Obstacle
This can be very simple or very complicated. A great rule of thumb is to try and get the front-facing side of the skater in the shot. There are indeed exceptions to this rule, and sometimes it’s not even possible to get a shot from the front, but it’s usually a great starting point when calculating how to get the best looking photo. Again, this can be simple (like a boardslide) or a bit more puzzling (backside nosebluntslide). You have to take into consideration the skater’s angle of approach as well as their stance. It’s important to watch them attempt the trick first, if possible. You’ll likely have to take some test shots and experiment before finding a good angle to shoot from. Distance between you and the skater depends on the kind of lens you’re using and the kind of shot you desire.
Timing is Everything
If we haven’t made it clear enough yet, photography is a lot like skateboarding. Timing is another important facet that the two share. Getting the right timing for a shot takes a lot of experience. This is an element of photography that will vary greatly since every obstacle is different and every skateboarder does tricks differently. Again, if your subject is able to try the trick in advance, or if they already have the trick on lock, make sure to watch closely before you go in for a shot. This can be a frustrating process. When you finally get that perfect shot, it makes it all worth it.
More great skate photography tips below, but first… Let us make you something!
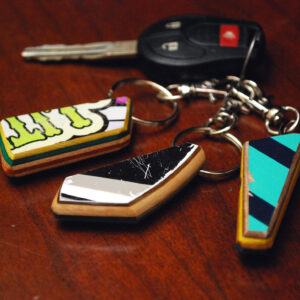
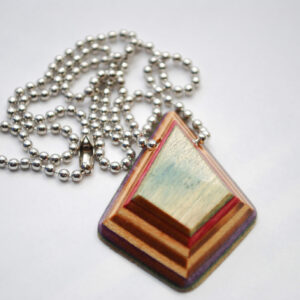
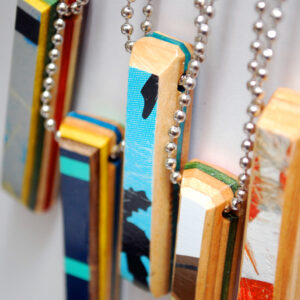
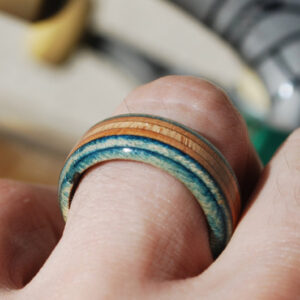
Support Everskate’s ad-free skateboard content by shopping some of our products! We handcraft them ourselves from recycled worn-out skateboards. Browse All Recycled Skateboard Products
-
Wooden Keychain
Other Cool Stuff $9.00 -
Diamond Pendant Necklace
Skate Deck Jewelry $16.00 -
Vertical Bar Necklace
Skate Deck Jewelry $16.00 -
Sold out!
Recycled Skate Ring + Necklace
Skate Deck Jewelry $22.00
Lighting Makes All The Difference
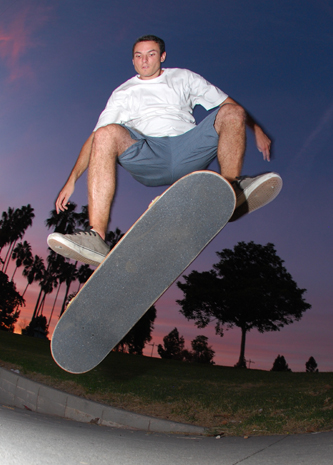
You want to make sure your subject (skateboarder) is properly lit. If it’s dark out, you can find a well-lit spot. If that’s not possible, you can try using various lighting equipment. The most common, and easiest, artificial source of light is an attachable flash (commonly referred to as a strobe or speedlight). Some of these can be triggered remotely and can be placed away from your camera. Even more flash attachments have a swiveling function, so you can make sure your flash is coming from the right angle. Make sure the skater you’re shooting is okay with a flash going off. Being blinded by a bright light in the middle of a trick might not end so well if they’re not ready for it.
Camera Settings
If you’re shooting in manual mode, make sure your shutter speed and aperture are set the desired shot you want. A quicker shutter speed will freeze the trick in mid air (most shots), which is often desired. Occasionally you may want to have the photo show movement or “motion blur”. In this case, choose a slower speed. Your choices also need to take into consideration natural light, extra light from a flash (if you have it on), as well as the speed of the skateboarder and the trick he’s doing. For example, for a double kickflip the board is moving way faster than for a rock’n’roll or indy grab.
Communication is Important
Skateboard photographers often have an advantage over photographers of other sports in that we are able to talk with our subjects. A basketball photographer can’t ask “Are you going to do a dunk? What angle are you going to dunk from?” Knowing how and where a skateboarder is going to do a trick is very beneficial. Talk with the skater so you know their angle of approach in advance. You can also find out how high they’re planning on doing the trick or how long they’re planning on grinding for before they dismount.
Always Experiment
Just because you’ve found a good angle to shoot from doesn’t make you should settle. Move around and try shooting from new spots. See how things look. Play around with your camera and lighting settings. See what’s possible. Experimentation is one of the most important parts of photography and skateboarding, so it’s an extremely important part of skateboarding photography. Have an idea? Put it into action.
Experience Will Take You Places
The more you shoot, the better you’ll get. We’ve already made that clear. But experience has far more benefits than that. The more you shoot, the more your photos will get out into the skateboarding world. This is especially true in the modern age of social media and sharing. Don’t be afraid to put your shots out there. The more your name gets out, the more skateboarders will want you to shoot them.
More Quick Tips
-Use your surroundings. Stand on something. Crawl under something. Look around and see what you can use to be creative.
-Don’t cut off your subject’s heads or limbs. If you need to stand back to get them all in, do it.
-Get creative in post-processing. Crop your shot, adjust the color or add some filters. Make your photos pop.
-Use manual focusing. Auto-focus often isn’t quick enough when it comes to skateboarding. Your shots are going to be late if the camera has to focus after you press down the shutter. Manual focusing will help your timing.
-Make sure your battery is charged. You’re going to be shooting a lot when you go out for a day of skating and shooting photos.
Skateboarding is a Lot Like Photography
Both skating and shooting are all about creativity, originality, and experimenting. Both are about getting out there and exploring your environment. Both have an emphasis on timing. So when you’re out taking photos, keep in mind the things you have learned from skateboarding… Be brave. Be bold. Be original. Experiment. Try something new. Change angles. Don’t give up. And most importantly, put your heart into it.
Now go skate and take some shots!
We want to see them. Share them on our site via Instagram (ex. #kickflip) or email them: info@everskate.com so we can share them on our social media!

